Butterfly 主题一图流优化
1. 添加和引入 css 文件
在 hexo 项目的根目录下的 \source\css 文件夹内创建 css 文件
下面的各个美化步骤都在此 css 内修改
在 _config.butterfly.yml 内引入文件,找到下面的位置添加这一行,css 文件名改成你的文件名
1 | inject: |
2. 关闭首页图片
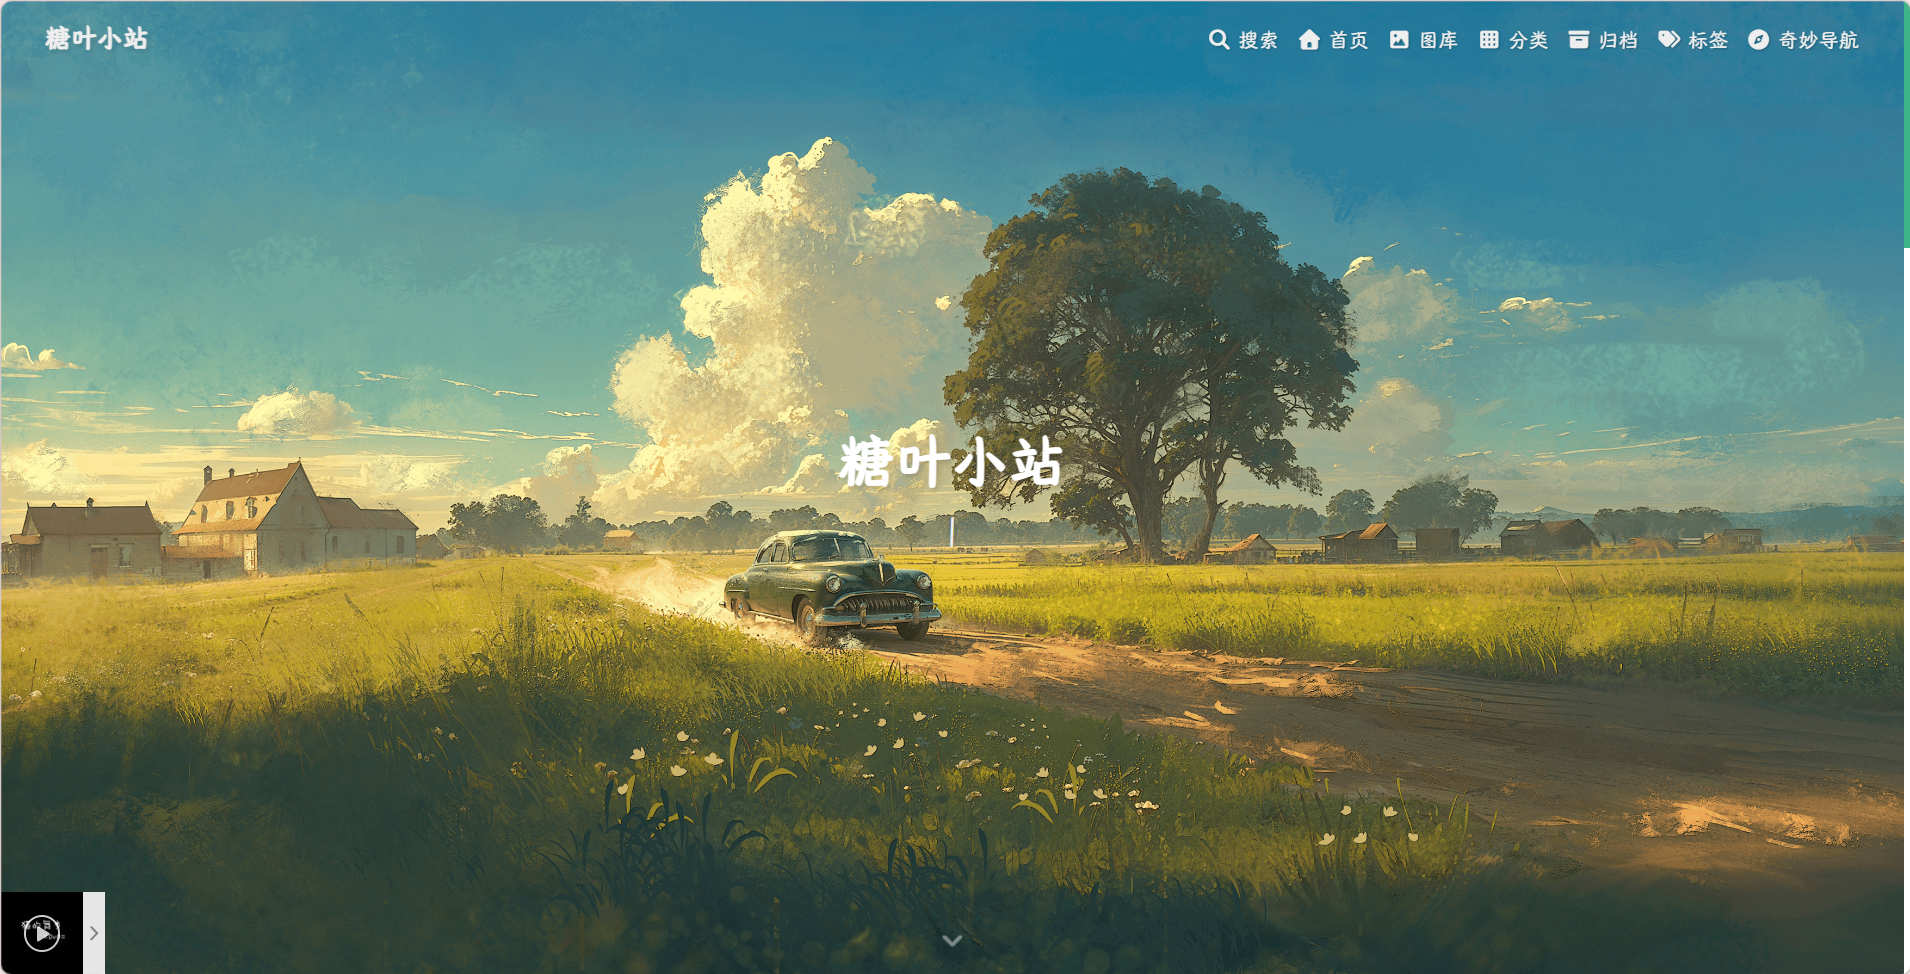
设置首页图片与网站的背景图片一致
此时发现图片与下方的内容部分颜色不一致
该原因是因为首页的图片自带遮罩,需要去除
在 css 中添加下列内容,如果不关闭背景动画的话会导致背景有加载动画,而图片没有,会导致二者割裂
1 | /* 首页白天模式去除遮罩 */ |
3. 设置 footer 部分透明
在 css 中加入下列内容
1 | /* Footer 本体透明 */ |
4. 设置独立页面顶部图片透明
在 css 中加入下面内容
1 | /* 独立页面头图背景透明 */ |
本博客所有文章除特别声明外,均采用 CC BY-NC-SA 4.0 许可协议。转载请注明来源 糖叶小站!
相关推荐

2026-05-20
Hexo Butterfly 图库页面创建教程
Hexo Butterfly 主题图库页面创建教程前置说明本博客基于 Hexo + Butterfly 主题构建,图库功能已集成在主题中,支持两种模式: 单页图库 - 用于展示一组图片 图库分组 - 多个分类图库的集合页面 1. 创建单页图库单页图库适合展示一组相关图片,如一个相册。 在 source/ 目录下创建页面,例如 source/gallery/photos/index.md: 12345678910---title: 摄影作品date: 2026-05-20 12:00:00aside: false---{% gallery %}{% endgallery %} 示例 [{"url":"/image/indexImage.png","alt":"风景1","title":""},{"url":"/image/gal...
2026-03-11
Hexo 起步及配置 Butterfly 主题
1. 新建文章1.1 第一种方法 控制台创建文件在控制台输入 hexo new "标题名" hexo 会在 /source/_posts/ 下自动创建一个 Markdown 文件,该文件会包含 Front-Matter 1.2 第二种方法 手动创建自己在 /source/_posts/ 文件夹下创建一个 Markdown 文件,其中需要手动配置 Front-Matter 123456---title: Hexo 起步 && 配置 Butterfly 主题date: 2026-03-11 14:06:59tags: [Hexo, 笔记]categories: 学习笔记--- 其中的 tags 和 categories 分别为标签和分类标识,之后在文章内也会有说明 2. 设置文章分类2.1 为文章设置分类在每个文章的 Front-Matter 里面的 categories 字段内可以设置文章的分类 12345单个文章分类直接写即可categories: 笔记多个文章分类使用列表categories: [笔记,HEX...